

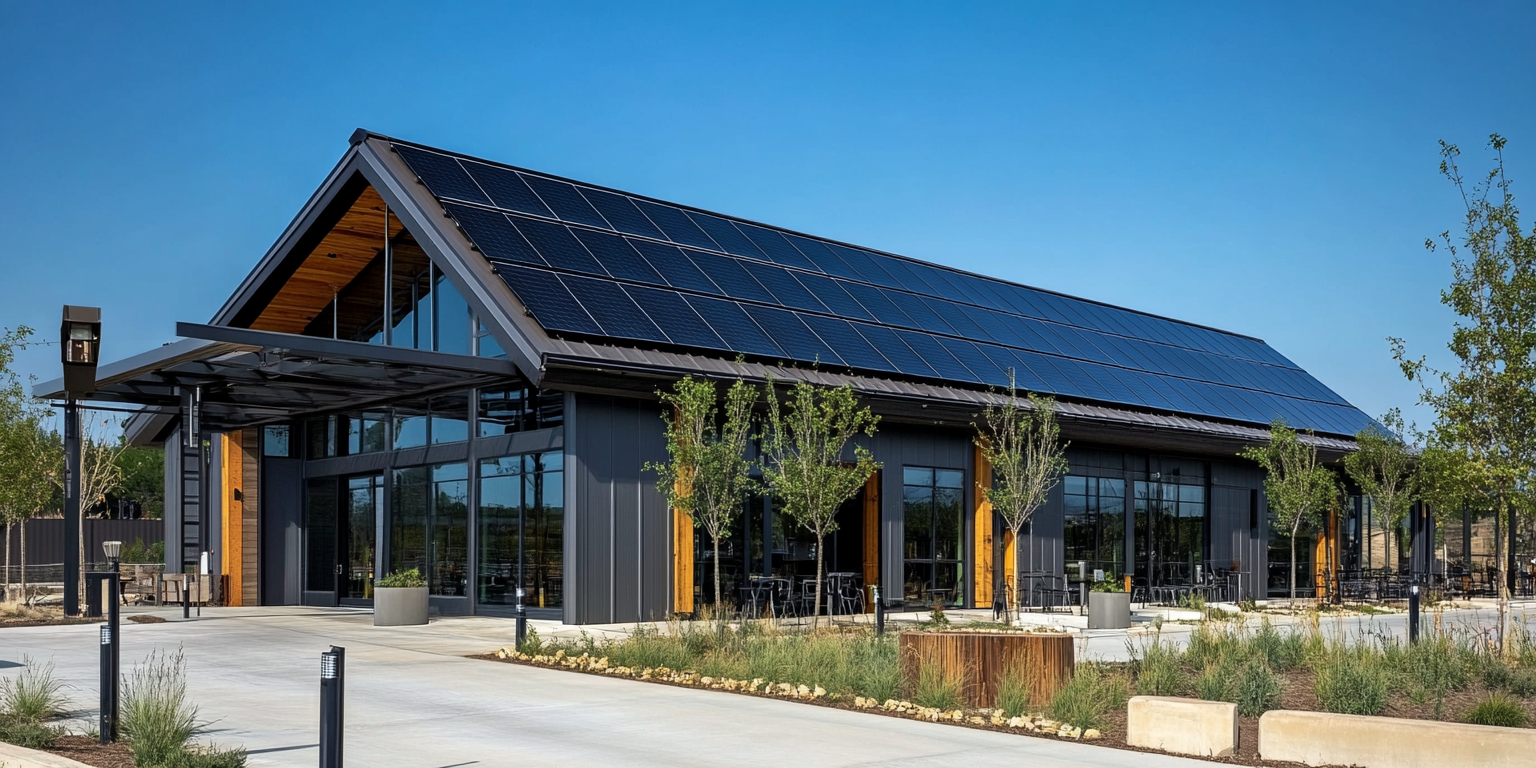
An existing roof is ready for solar when three things check out: the framing can carry the added dead load and the wind uplift on every attachment, the roofing has at least as much service life as the first decade of the array, and every penetration is flashed to the roof manufacturer's requirements. Most residential roofs have the structural capacity for a flush-mounted array. The usual failures are old roofing, poor attachment into the framing and leaks at the mounts. An engineer's review and a roofer's sign-off settle all three before the crew arrives.
Key takeaways
- A flush-mounted array typically adds a few pounds per square foot, and wind uplift on the attachments usually governs the design more than the weight.
- Asphalt shingle, standing-seam metal, tile and low-slope membrane roofs all take solar, each with a different attachment method and leak risk.
- Replace the roof first when it will not outlast the early years of the array, because removing and reinstalling panels costs far more than doing the roof first.
- Every penetration needs a tested flashing, and sealant should back up the flashing, not replace it.
- No long-term data shows that panels extend roof life, so do not promise it to customers.
- Put roof condition, access and workmanship responsibilities in the contract and photograph the roof before work starts.
How do you know if a roof can handle the weight of solar panels?
A structural review of the framing, decking and attachment points answers it. A flush-mounted residential array commonly adds on the order of 2 to 4 pounds per square foot including racking, and a modern module itself weighs roughly 40 to 60 pounds. Most code-compliant framing can carry that. The check that matters is whether each attachment can resist wind uplift and whether any member is already overstressed.
The review covers five things:
- Dead load. Add the array and racking weight to the existing roofing and framing loads.
- Wind uplift at each attachment. Compare the design uplift per mount to the pullout capacity of the fastener into the rafter or truss, using the manufacturer's tested values. A lag screw that only reaches the decking will not pass.
- Snow, where it applies. Snow, including drift and sliding snow at array edges, adds to gravity load. Check the design value for the site, since it is negligible in much of Florida and governs in northern climates. The ASCE Hazard Tool and the local building department give site values.
- Member condition. Look for sagging, rot, water stains, past notching or cut trusses, and undersized lumber. Measure rafter or truss size and spacing, which is commonly 16 or 24 inches on center.
- The code trigger for adding load. Under the International Existing Building Code family, an alteration that raises the gravity load on an existing element by more than about 5 percent requires that element to meet current code for the added load. Confirm the exact threshold in the edition your jurisdiction has adopted.
Structural loads come from ASCE 7 (see the ASCE 7 standard page) as adopted by the Florida Building Code. The Florida Building Code, 8th Edition (2023), is in effect through December 30, 2026, and the 9th Edition (2026) is scheduled to take effect December 31, 2026. The Florida Building Commission posts the edition and update materials.
When the review fails, you have options: add blocking or sister the rafters at the mounts, reduce the array size, shift the layout, or move the array to a ground mount. Our racking and ground-mount guide covers the other approach.
Which roofing materials work best with solar?
Standing-seam metal is the easiest roof for solar because clamps attach to the seams without penetrating the panels. Asphalt shingle is the most common and works well when mounts are flashed correctly. Tile needs care because it is heavy and brittle, and low-slope membrane roofs need either ballast or flashed attachments.
| Roof type | Typical attachment | Main watch-outs |
|---|---|---|
| Asphalt shingle | Flashed mounts screwed into rafters | Shingle age and granule loss, brittle shingles in older roofs, rafter location |
| Standing-seam metal | Seam clamps, often no penetration | Clamp compatibility with the seam profile, panel gauge, roof warranty |
| Concrete or clay tile | Hooks or flashed mounts under or through tiles | Tile weight, broken tiles, flashed replacement mounts, tile-specific hardware |
| Low-slope membrane (TPO, PVC, mod-bit, built-up) | Ballast, adhesive or flashed attachments, or a hybrid | Dead load of ballast, membrane condition, drainage ponding, substrate strength |
| Wood shake or shingle | Mounts into rafters with flashing | Fire classification, local code rules, brittle old wood |
Typical service lives run about 20 to 30 years for asphalt shingle (often less in Florida heat and storms), 40 years or more for metal, and 50 years or more for tile, so panel life can exceed the roof on shingles. That mismatch drives the replace-first question below.
On Florida commercial roofs, wind often turns ballasted designs into hybrids, with part ballast and part attachment. Our recap of the commercial panel covers that choice in mounting commercial solar in Florida's high winds.
Should the roof be replaced before installing solar?
Replace the roof first if it will not last through the early years of the array. If you have to replace it later, the array has to be removed and reinstalled, which means a second crew, an electrician for the disconnect and a gap in production. The U.S. Department of Energy's homeowner guide to going solar tells owners to consider the age of the roof and how long until it needs replacement.
A working rule for contractors: compare the remaining service life of the roofing with the array's expected life, and treat a roof that will need replacement within roughly the first ten years of the array as a replace-first roof. Use these checks:
- Condition. Cracked or curling shingles, granule loss, soft decking, active leaks and past patches all argue for replacement.
- Age and material. Shingles at or past mid-life deserve a hard look. Tile and metal roofs often outlast the panels.
- Warranty. New roofing with a manufacturer warranty that covers the solar attachments avoids a finger-pointing fight later.
- Cost and schedule. Doing both jobs back to back means one mobilization and one set of permits. The roof can be done with the solar layout in hand, so the roofer knows where the rafters and mounts will go.
- Local code. Some jurisdictions require a roof inspection or certification as part of the solar permit. RoofLetters handles the roof certification letters that insurers and building departments ask for.
If the roof is sound but the customer already plans to replace it within a few years, schedule the reroof before the install so the panels go on only once.
How should roof penetrations be sealed?
Use a tested flashing at every mount and treat sealant as the backup. A flashing that sheds water by lapping under the upslope shingles or tile, with the mount fastened into the rafter, does the real work. Caulk alone fails within a few years as the sun and heat cycles break it down.
Practical steps for a shingle roof:
- Find the rafters, mark the layout and drill pilot holes at the marked points.
- Fill the hole with a compatible sealant, and slide the flashing under the shingle course above. The flashing should lap far enough up-slope to shed water, per the manufacturer.
- Set the mount and drive the lag fastener to the specified embedment into the rafter, tightening to the specified torque.
- Seal the fastener head and the mount's gasket as the manufacturer directs.
- Photograph each mount before the module goes on.
For other roofs:
- Standing-seam metal. Use seam clamps rated for the seam profile. They hold without penetrating the metal.
- Tile. Use tile hooks or flashed replacement mounts built for the tile profile, and replace any cracked tile. Do not drill into the tile surface.
- Membrane. Use flashed attachments approved by the membrane manufacturer, or ballast. Thick insulation under a membrane can leave fasteners short of the structure, so confirm the assembly depth before ordering hardware.
- Compatibility. Check that sealants do not attack the roofing material. Butyl is common on metal, asphalt-based sealants on shingles, and each roof manufacturer has an approved list.
Use only the flashing and sealant types your roof manufacturer allows, since an unauthorized penetration can void the roof warranty. Inspect the mounts after the first heavy rain and again at the first annual visit.
Do solar panels extend the life of a roof?
Panels shade the roof under them, but nobody has shown that this extends roof life, so do not sell it as a benefit. A University of California San Diego study measured that an array reduced heat reaching the roof by about 38 percent and kept the ceiling roughly 5°F cooler in the daytime. The same release says that panels also trap heat overnight, so in San Diego's climate the cooling and warming roughly offset each other (UC San Diego Jacobs School release).
Shade from the array can reduce UV and heat on the covered roof, which is the plausible mechanism for slower wear. Against that, the array adds penetrations, traps leaves and debris, and makes the roof harder to inspect. The honest line for a customer: the covered area is shaded, the roof is not harmed by the array when installed right, and nobody should expect extra years from it.
Who is liable if the roof is damaged during or after installation?
The contract decides most of it, and the installer is usually responsible for damage the installer's own work causes, such as leaks at its mounts or broken tiles. Pre-existing conditions, storm damage and a roof's own defects are different. This is general information, not legal advice, so have counsel review your contract language.
| Situation | Who usually carries it | What to document |
|---|---|---|
| Leak at a mount the installer made | Installer, and its insurance | Photos of each mount, flashing type, torque records |
| Broken tile or shingle during work | Installer | Pre-work photos and a note of existing cracked tile |
| Pre-existing leak or rot found later | Owner, unless the installer missed it in a required inspection | Roof assessment before work |
| Storm damage after install | Owner's property insurance, with the roofer and installer cooperating on removal | Install records, permit and final inspection |
| Roofer's warranty voided by solar attachments | Depends on the contract and whether the roofer approved the method | Written sign-off from the roofer |
| Structural failure from a design error | Engineer or installer, depending on who specified the attachment | Stamped letter and plan set |
Reduce disputes before work starts. Photograph the roof, note existing damage in writing, get the roofer's written approval of the attachment method when the roof is under warranty, and confirm that your general liability policy covers completed operations. Remove and reinstall costs for any later roof repair should be spelled out in the contract.
Are critter guards necessary on rooftop arrays?
In most residential installs, yes. Squirrels chew wiring, and pigeons and other birds nest under the array, where the gap between module and roof is warm and sheltered. Nests and droppings clog drainage, collect debris and can damage cables. A mesh guard around the array perimeter keeps animals out of that gap.
Use these rules when you specify one:
- Use stainless or galvanized mesh with clips that fasten to the module frame, not to the roof.
- Do not block airflow or water drainage under the array.
- Do not cover the fire-code setbacks and access pathways at ridges and edges.
- Secure wiring in clips or conduit as the NEC edition your jurisdiction has adopted requires, because loose cables invite chewing.
- Trim overhanging branches and plan a check at the annual visit.
A site with no history of wildlife problems and a high array may not need one, but the guard is cheap compared with a rewire.
FAQ
Does a solar installation need a structural letter?
Many building departments require one, especially for older roofs, tile roofs and low-slope ballasted systems. Even where it is not required, a stamped letter documents that the framing and attachments were checked, which protects the installer if a dispute comes up.
Can solar go on a roof with two layers of shingles?
It is possible in some jurisdictions but a poor candidate. The mounts must reach the rafters through both layers, flashing gets harder, and the second layer usually means the roof is near end of life. Most contractors strip to one layer first.
What if the rafters are 2x4s at 24 inches on center?
Lightweight framing is the case that needs real analysis. Wind uplift per attachment may exceed what a single lag screw gets from a small member, so the layout may need blocking, closer mounts or a reduced array.
Do metal roofs void their warranty when clamps go on?
Not when the clamp is approved for the seam profile and the roof manufacturer accepts it. Get that acceptance in writing before the job, because roof warranties vary by manufacturer.
Who inspects a solar roof after a hurricane?
A licensed roofer, an electrician and sometimes an engineer all have a role. The roofer checks the roofing and mounts, the electrician checks the wiring and equipment, and the engineer is called in if framing or attachments look damaged.
Bottom line
Prepare an existing roof by checking the structure, the roofing's remaining life and the attachment details before any panel goes up. Replace tired roofing first, flash every penetration, specify critter guards and put responsibilities in writing. For structural letters on existing roofs, SunSmart Engineering provides structural engineering for solar mounts and roofing and exterior engineering for contractors nationwide.
Keep reading.

Have a project in mind?
Tell us what you're building and we'll help you get it engineered, sealed, and permitted.